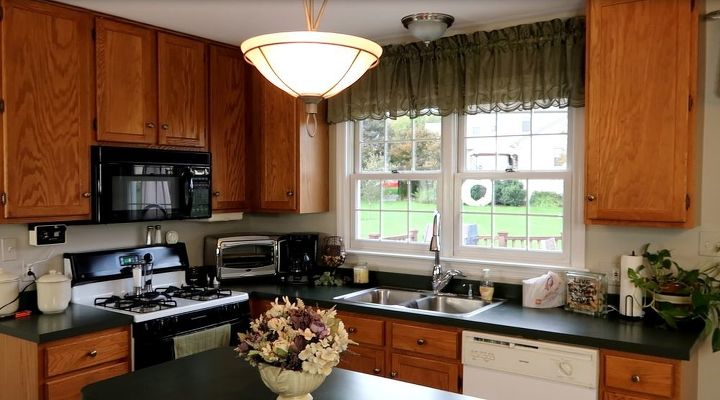
Transform Your Outdated Kitchen With This Stylish Update

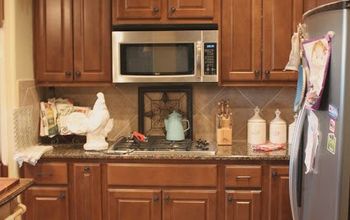
A friend of mine wanted to paint kitchen cabinets. They were oak and she felt they were out of style.
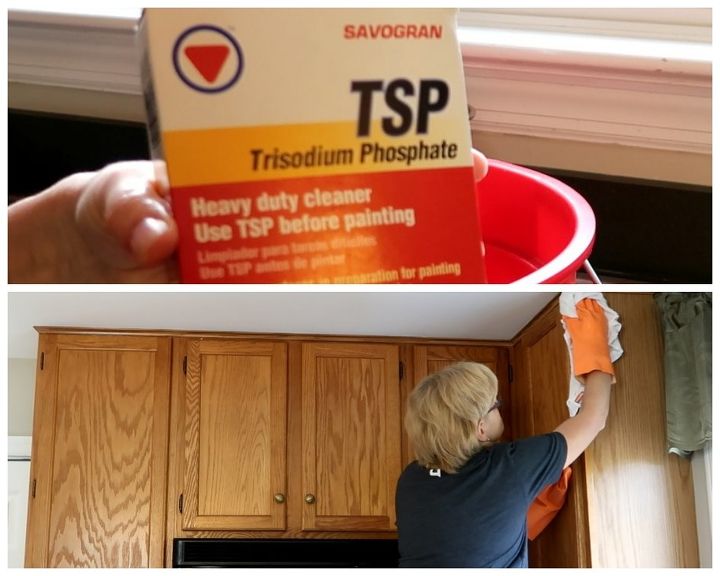
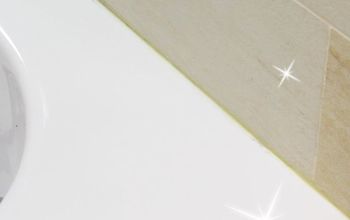
Step 1: Clean
I used TSP and hot water to deep clean the cabinet. I wiped the outside of all the cabinets and the inside of the cabinet doors.
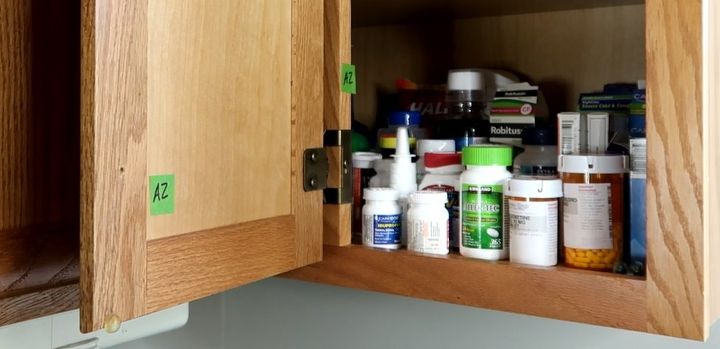
Step 2: Number Your Cabinets
This is one of the most important steps.
Write the same number on two pieces of tape. Place one piece of tape inside the cabinet and one piece on the door.
I used letters and numbers - "A" is for the upper cabinets, "B" is for the lower cabinets and "I" for the island cabinets.
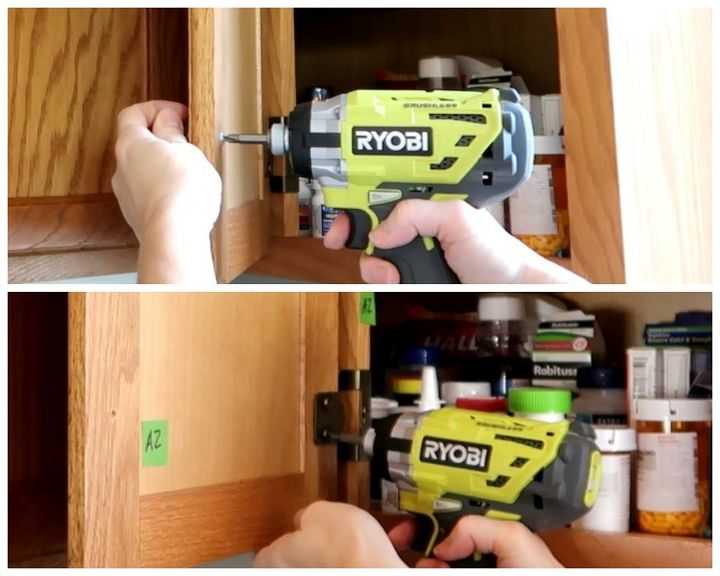
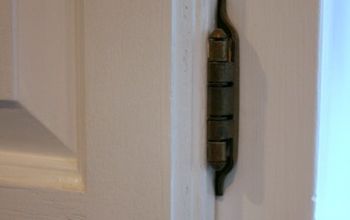
Step 3: Remove Hardware and Hinges
Once you have your cabinets marked, removed all the hardware and hinges. Place the hinges into a zip lock bag.
Remove the doors.
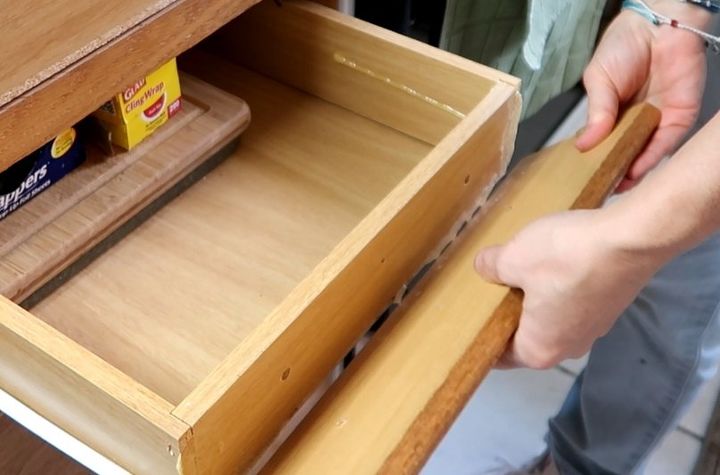
For the drawers in this kitchen, the actual drawer fronts unscrewed from the drawers. Place the drawer screws into a zip lock bag.
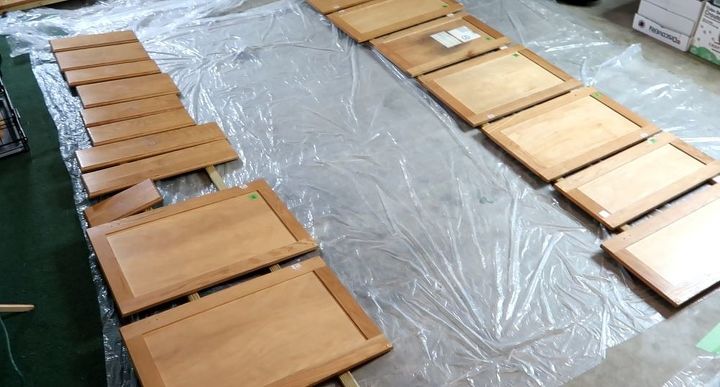
Step 4: Lay Out the Doors and Drawer Fronts
In the garage, I laid pieces of plastic drop cloth onto the floor then I placed pieces of scrap wood underneath the doors to elevate them off of the floor. This will increase air flow when the doors are drying.
Place the doors with the back facing up.
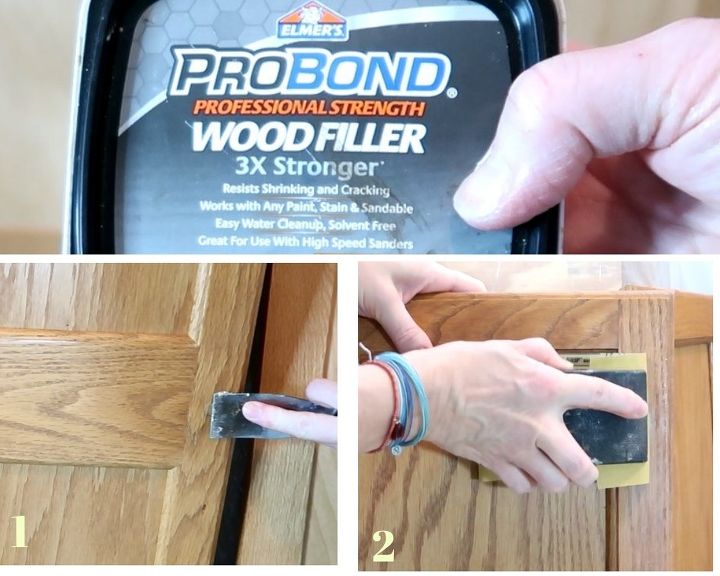
Step 5: Fill Holes
I was replacing the hardware so
1 - I filled the holes with wood filler
2 - and sanded when they were dry
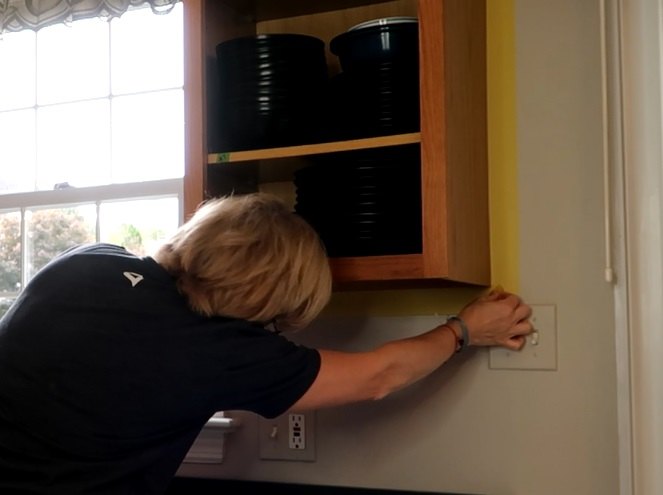
Step 6: Tape Walls
Another important step that you don't want to skip is taping off the walls around the cabinets. These walls had been recently painted so I used painter's tape made for delicate surfaces which is yellow.
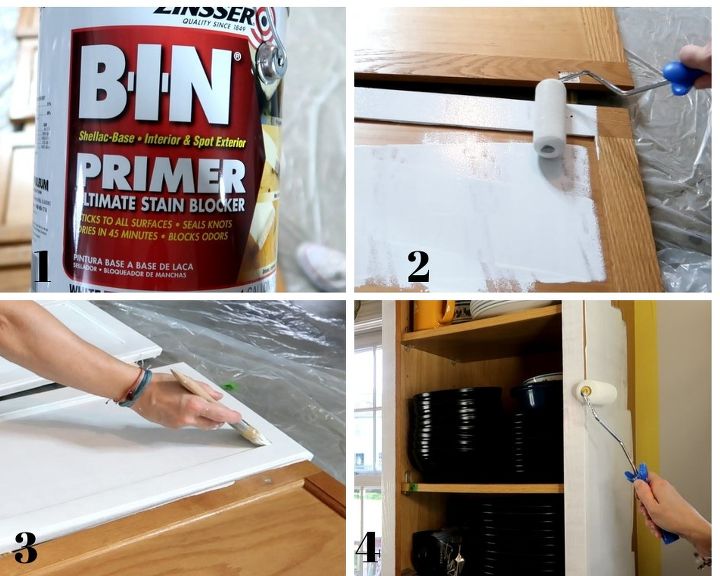
Step 7: Prime Cabinets
2 - I used a 1/4" nap cabinet roller with this primer.
3 - To get into the seams, I also used a natural bristle paint brush
4 - I used the roller on the outsides of the cabinets too.
I applied one coat of primer and allowed it to dry 24 hours as per the manufacturer's directions.
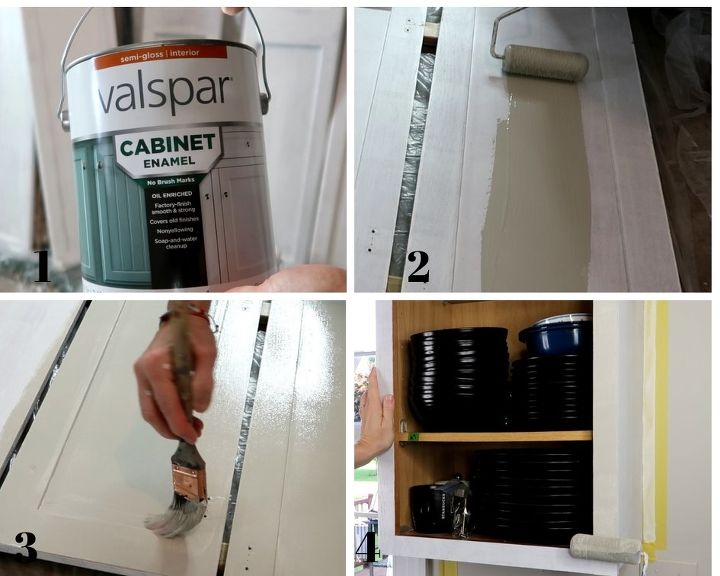
Step 7: Paint
I used Valspar cabinet enamel for this project. By using this type of paint, you don't have to seal the cabinets. The enamel gives them a hard protective finish.
2 - 4 - I used the 1/4" nap roller and brush to apply the paint the doors and cabinets.
I applied two coats of paint allowing them to dry 12 hours between coats.
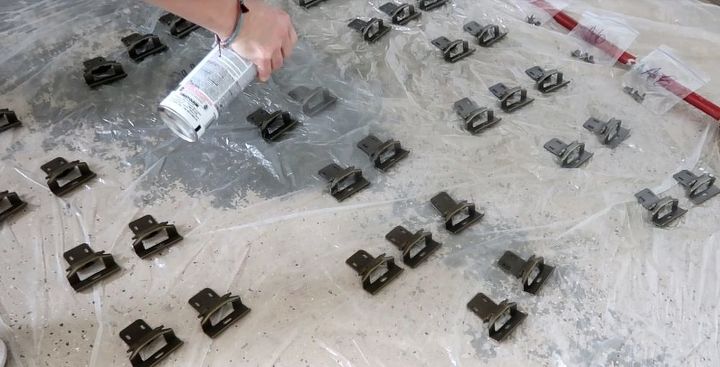
Step 7: Spray Hinges
The homeowner was changing the hardware to a nickel finish so I I applied two coats of spray paint to the hinges in a nickle finish.
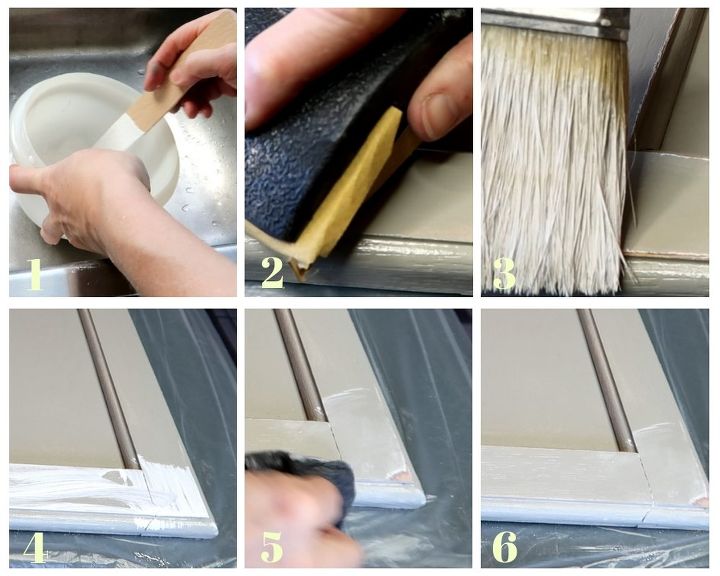
Step 8: Distress
The homeowner didn't want a flat cabinet, so I distressed the cabinet doors.
1 - I mixed one part white paint with three parts water and mixed for a consistency of water
2 - I sanded the edges of the doors with fine grit sandpaper and removed the dust with a tack cloth
3 - 4 - Using a paint brush, I brushed the paint/water mixture onto the door
5 - 6 - then immediately used a soft cloth to remove most of the paint.

Step 9: Add the hardware
Once the doors were dry, it was time to attach the hardware
1 - Using a Kreg jig specifically made to drill new holes for hardware , I measured to find center
2 - then drilled holes for the pulls and knobs
3 - I used a hand screwdriver to attach the hardware
4 - and a power screwdriver to reattach the hinges
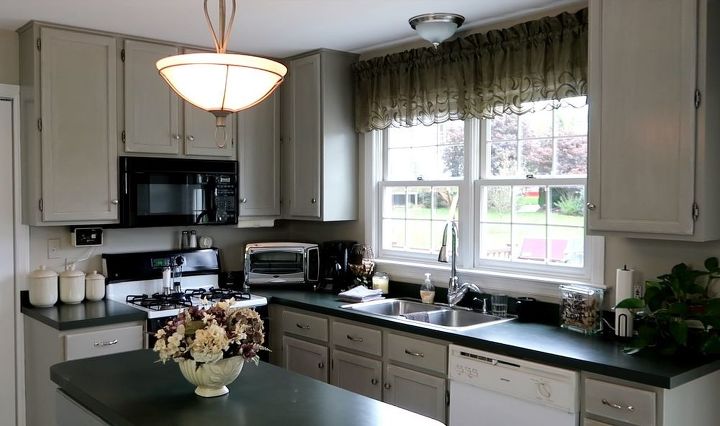
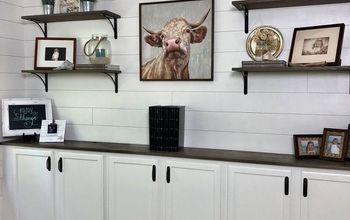
And here is the finished kitchen! Now scroll to the top and look at the before (I'll wait)
What a difference right? It looks updated and clean. And the homeowner loves the new look.


Comments
Join the conversation
-
WOW! What a difference paint makes. Lots of work but worth every minute. Congrats you did an excellent job.
-
You have done a great job of explaining. My son took the time to sand, prime, and dry between coats of paint, and the finish lasted for years - no chipping or crazing. Nice!


Frequently asked questions
Have a question about this project?
NICE! What color is the Valspar paint?
Nice, this is exactly what I researching for my kitchen.
also just read a great piece about whitewashing the brick on home talk too. I also would love some clarification on step 8. Did you just do the edges or other parts as well? So if I understand this you sand through the paint and primer and then wipe the whitewash in? Yes also would love to know the color...
Thanks mine are the same honey oak. Did you do it without any sanding? Mine have the dreaded varnish, do you think that would make a difference in the need to sand?
Can you use the Valspar Cabinet enamel on dressers and be able to use cleaners on it?